


Install Pi Hole on a Raspberry PI

This guide will Take you through installing Pi Hole onto any Raspberry PI
I follwed a few guides and most i seemed to have issues with like some commands not working or how to do extra config stuff so i decided to put what i did here
First thing is if you dont know what PI Hole is
Pi-Hole is an advert-blocking application aimed at blocking ads at the network level. It acts as a Domain Name Service (DNS) server and, as such, queries all domains trying to access the devices connected to the network and blocks all ad-serving ones.
Put simply it will sit on the Low Powered Pi and check all traffic that comes into your Network and will attempt to block any Adverts and also Spyware etc.
Any Pi will theoretically work but personally i would use a Pi with a Ethnet Port or adapter and not just Wireless like the Zero or Zero W (but a USB to Ethernet adapter would work fine)
Also note that this is just for a normal 1 network setup which most people have but if you have multiple networks then this is beyond the scope of this guide.
So the first thing to do is to Create your SD card ready for install
I suggest you follow the Guide i put Here.
Then boot your Pi by inserting the SD Card and plugging in the Power
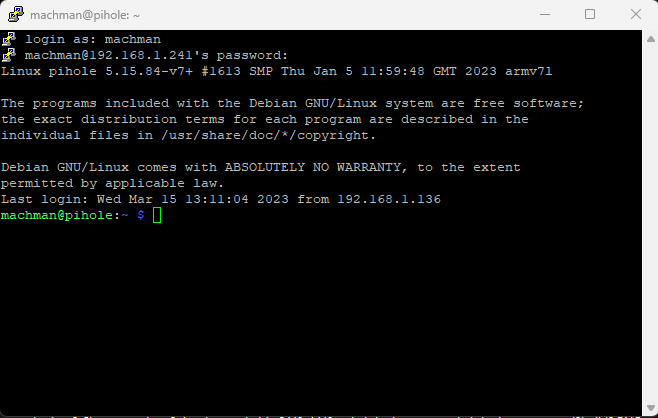
if a Headless setup connect via a ssh app such as Putty from any Windows pc on the network
Or if you have a mouse , keyboard and monitor connected open the terminal
run the following commands
sudo apt update
sudo apt upgrade
And then if there are upgrades available type y and let the PI Upgrade
And reboot when finished
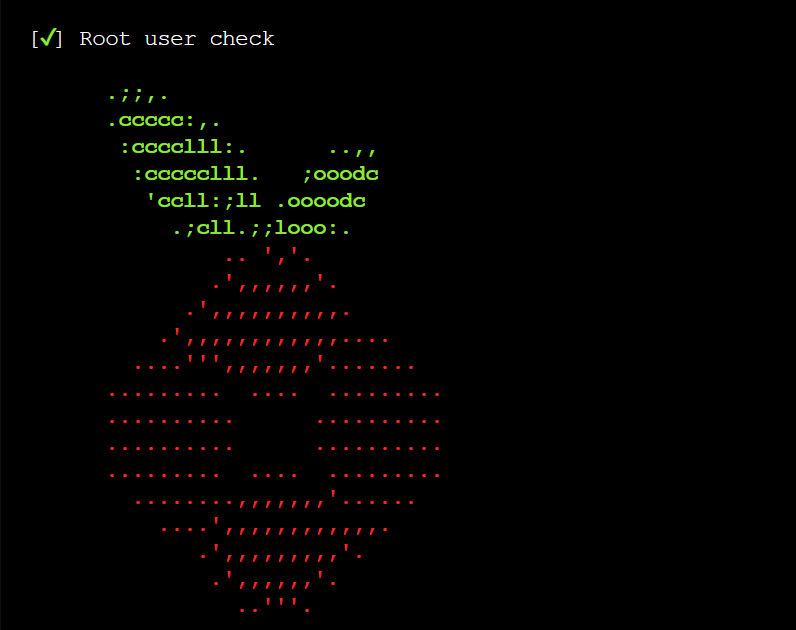
Now its time to install Pi Hole
Again when logged in type
curl -sSL https://install.pi-hole.net | bash
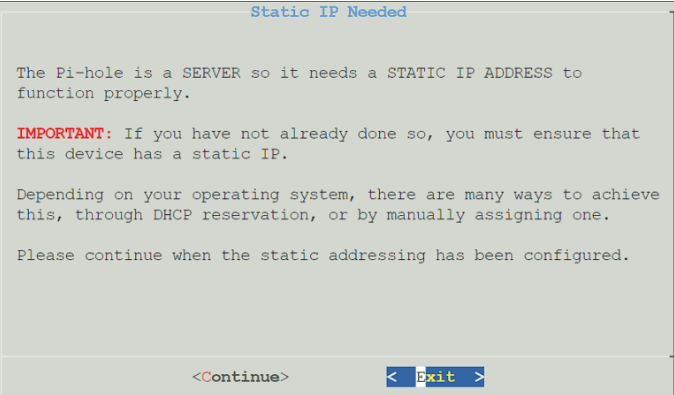
Press Enter until you get to the Static IP address setup. It is extremely important for Pi-hole to have a static IP address. It’s recommended to set up a static IP on your router, but you can do it inside of the Pi-hole setup process as well at a later step.
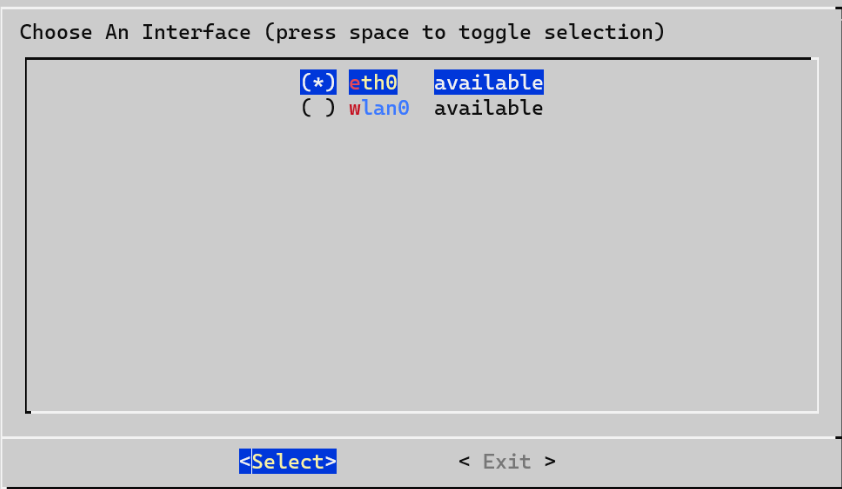
Select the correct interface for Pi-hole to use
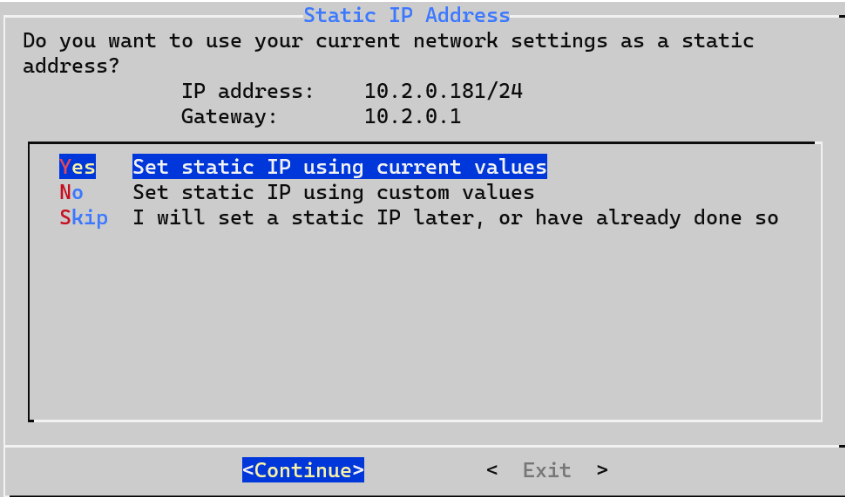
If you didn’t set a static IP address above, you can either use the existing settings, set your own, or skip this step.
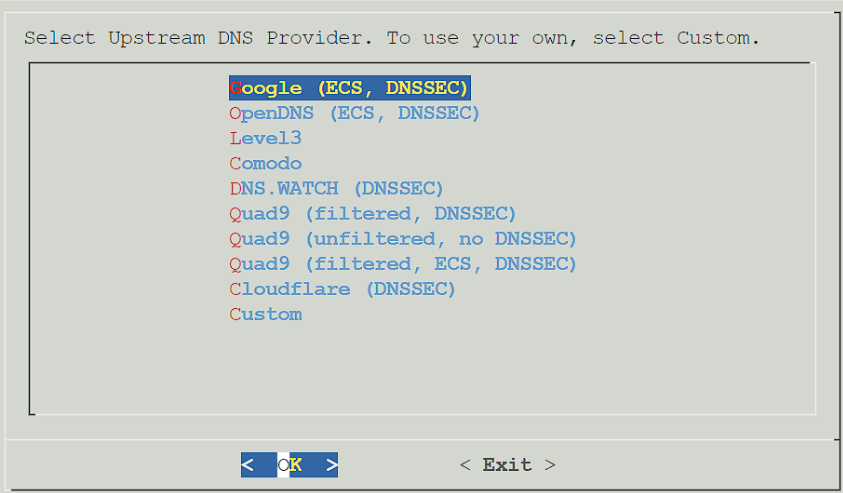
Select an Upstream DNS Provider. The Upstream DNS Provider is where DNS requests (which are not found locally) will be forwarded.
Google seems to be the most popular one
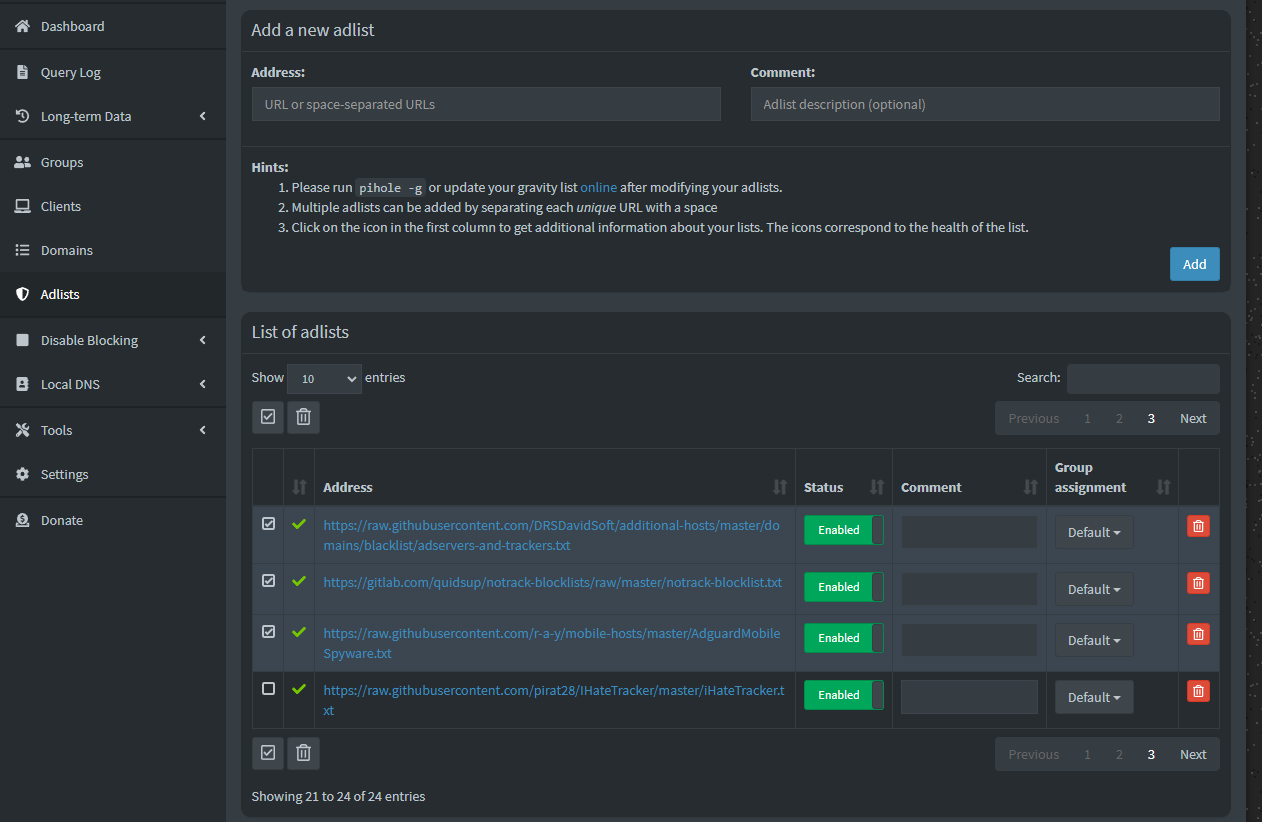
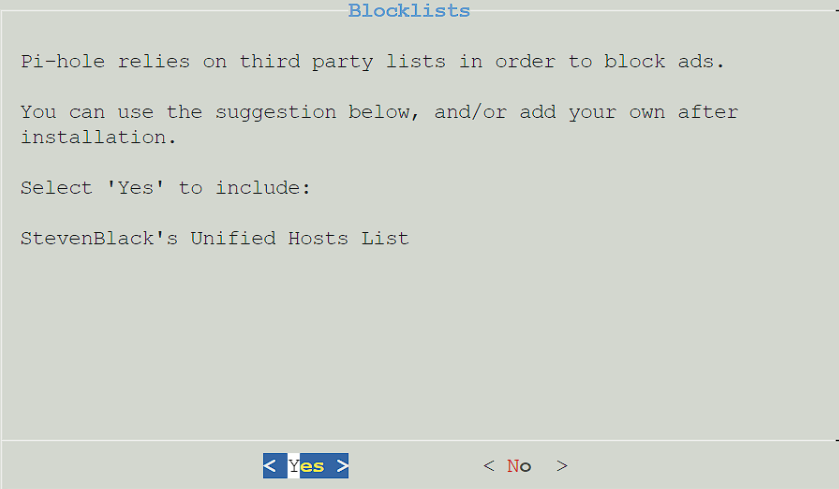
Select Yes to use the default block list. Please keep in mind that this can be configured later, and you do not have to use this list if you don’t want to but it does give you a good start in blocking ads etc.
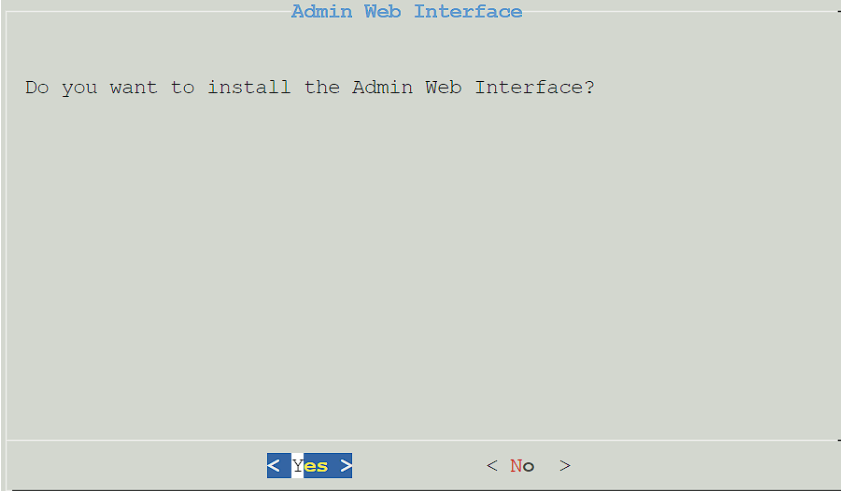
Select Yes to install the admin interface. This is how you’ll manage Pi-hole.
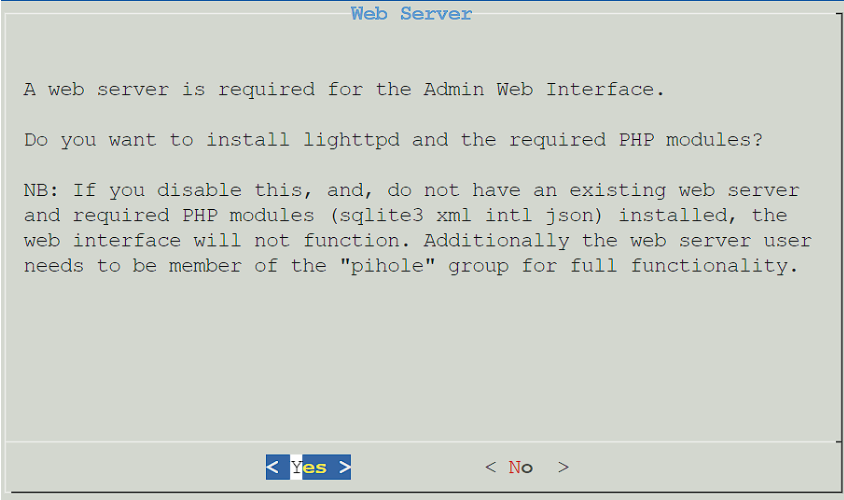
Select Yes to install the Webserver for the Admin Web Interface
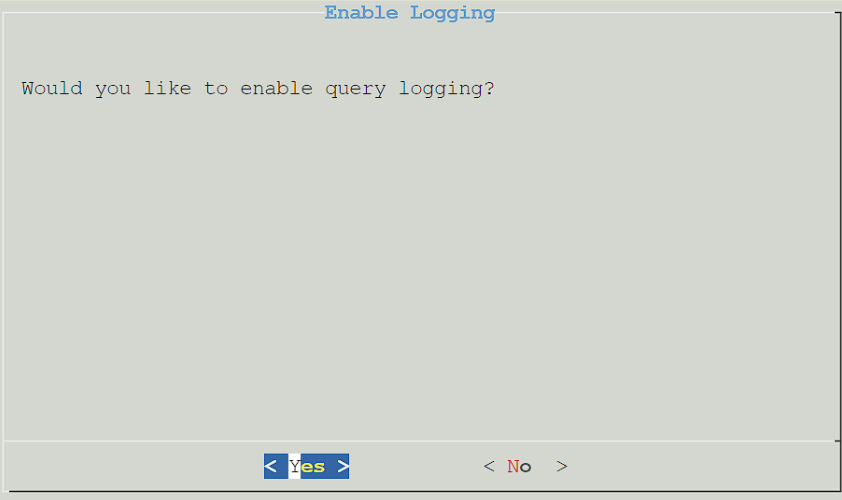
Query logging is a personal preference (this is what will determine if DNS requests are logged), so select Yes or No based on your preference but if you are unsure select yes as this can always be changed
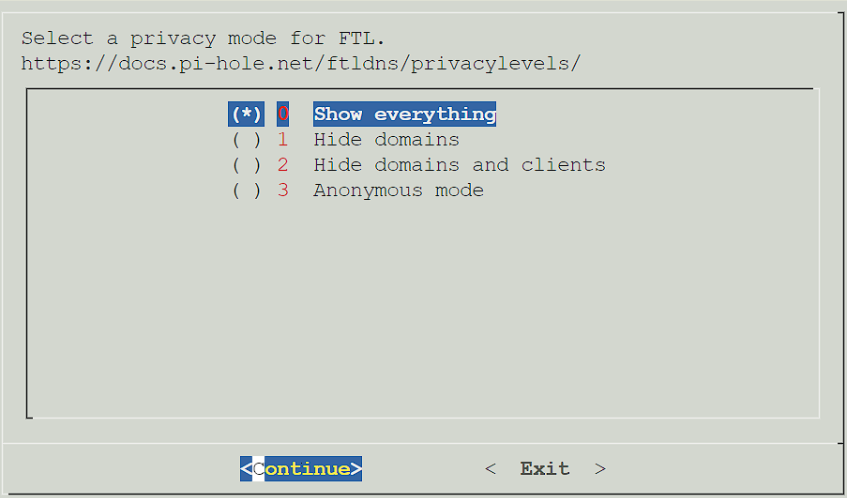
If you selected yes above, you’ll be asked to determine the privacy of DNS requests. Select the option you’d like, then press Continue.
Pi-hole will now install! Give it a few minutes to ensure that it’s fully configured. When it’s complete, you’ll receive a confirmation page where you can select OK to proceed. Please note the password given so that you can log in to the web interface
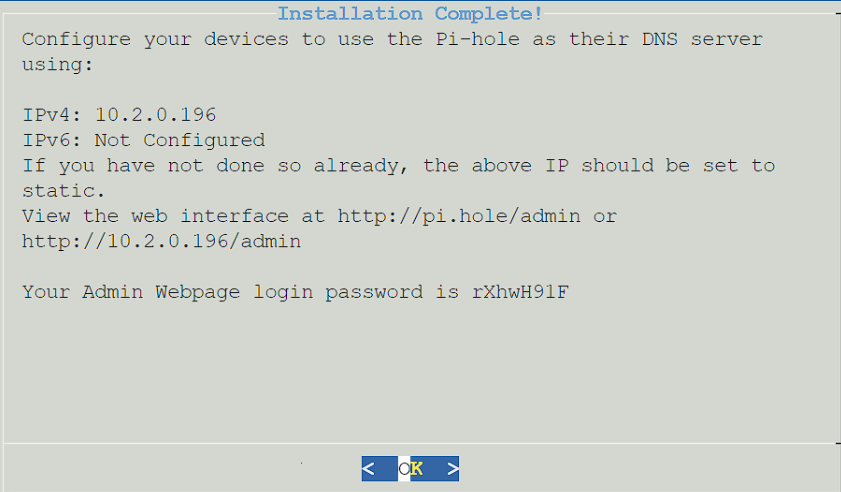
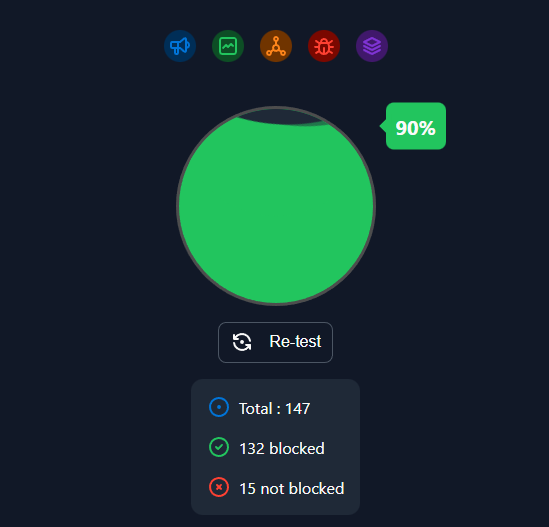
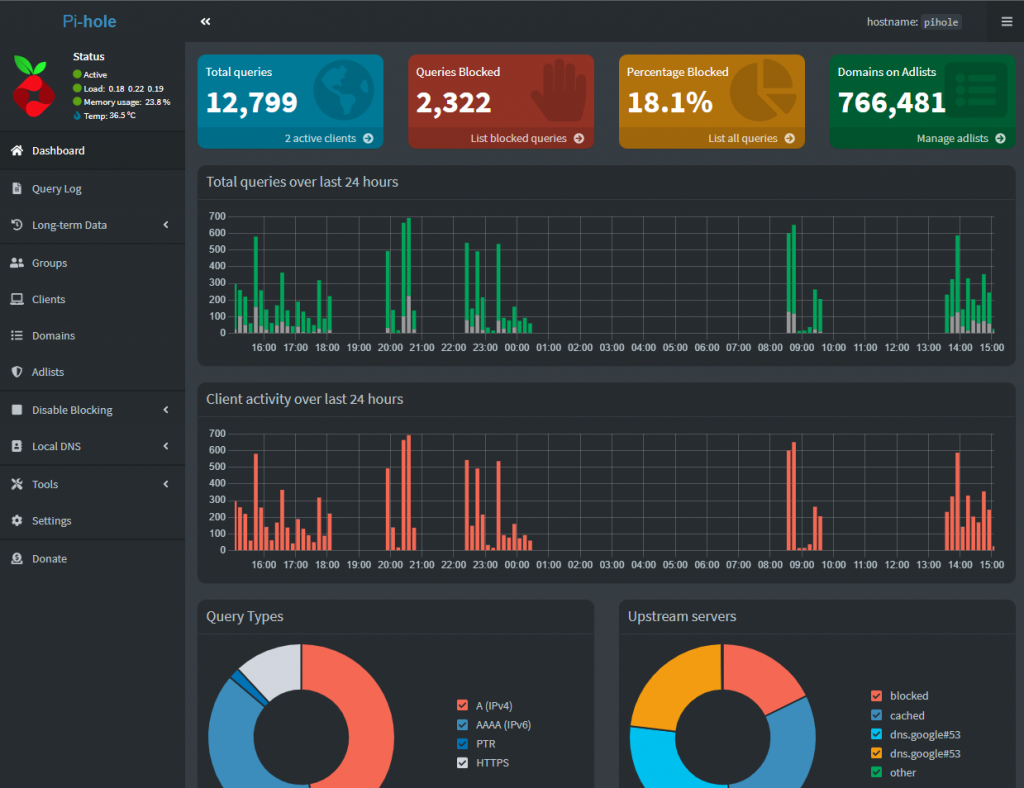
Now its Installed you can reach the Admin Page at
http://[YOUR_IP_ADDRESS]/admin
Thats it Pi Hole is installed
Of course Even though Pi Hole is now on the network you will need to tell each client to use it
Thats something you will have to look up depending on what you are using (PC, Mac< Phone etc) to browse the net.
Setting the Pi Hole as a DCHP server is the easiest and best way to do this as its then automatic.
Last thing to note is that sometimes Pi Hole will release updates
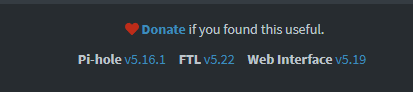
This is shown at the bottom of the Admin Page and if there are any updates it will show updates available in Red
To update Pi hole SSh into the Pi or open a Terminal ontthe PI and enter
sudo pihole -up
This will update Pi Hole to the latest versions and reload all of the configs again.
There are more guides below in progress helping configure and improve the Pi Hole experience
Copy the OS to A USB Stck or drive and booting from USB
Install and Confgure Unbound DNS for use with Pi Hole
Set as a DHCP Server