


Use OBS to put a MiniMap onto another Monitor
There are a few guides on the net about how to put a minimap onto another monitor but none of them actually went into detail to put multiple areas of the screen together, so after a lot of working out here is my guide
But why the need to do this ?,
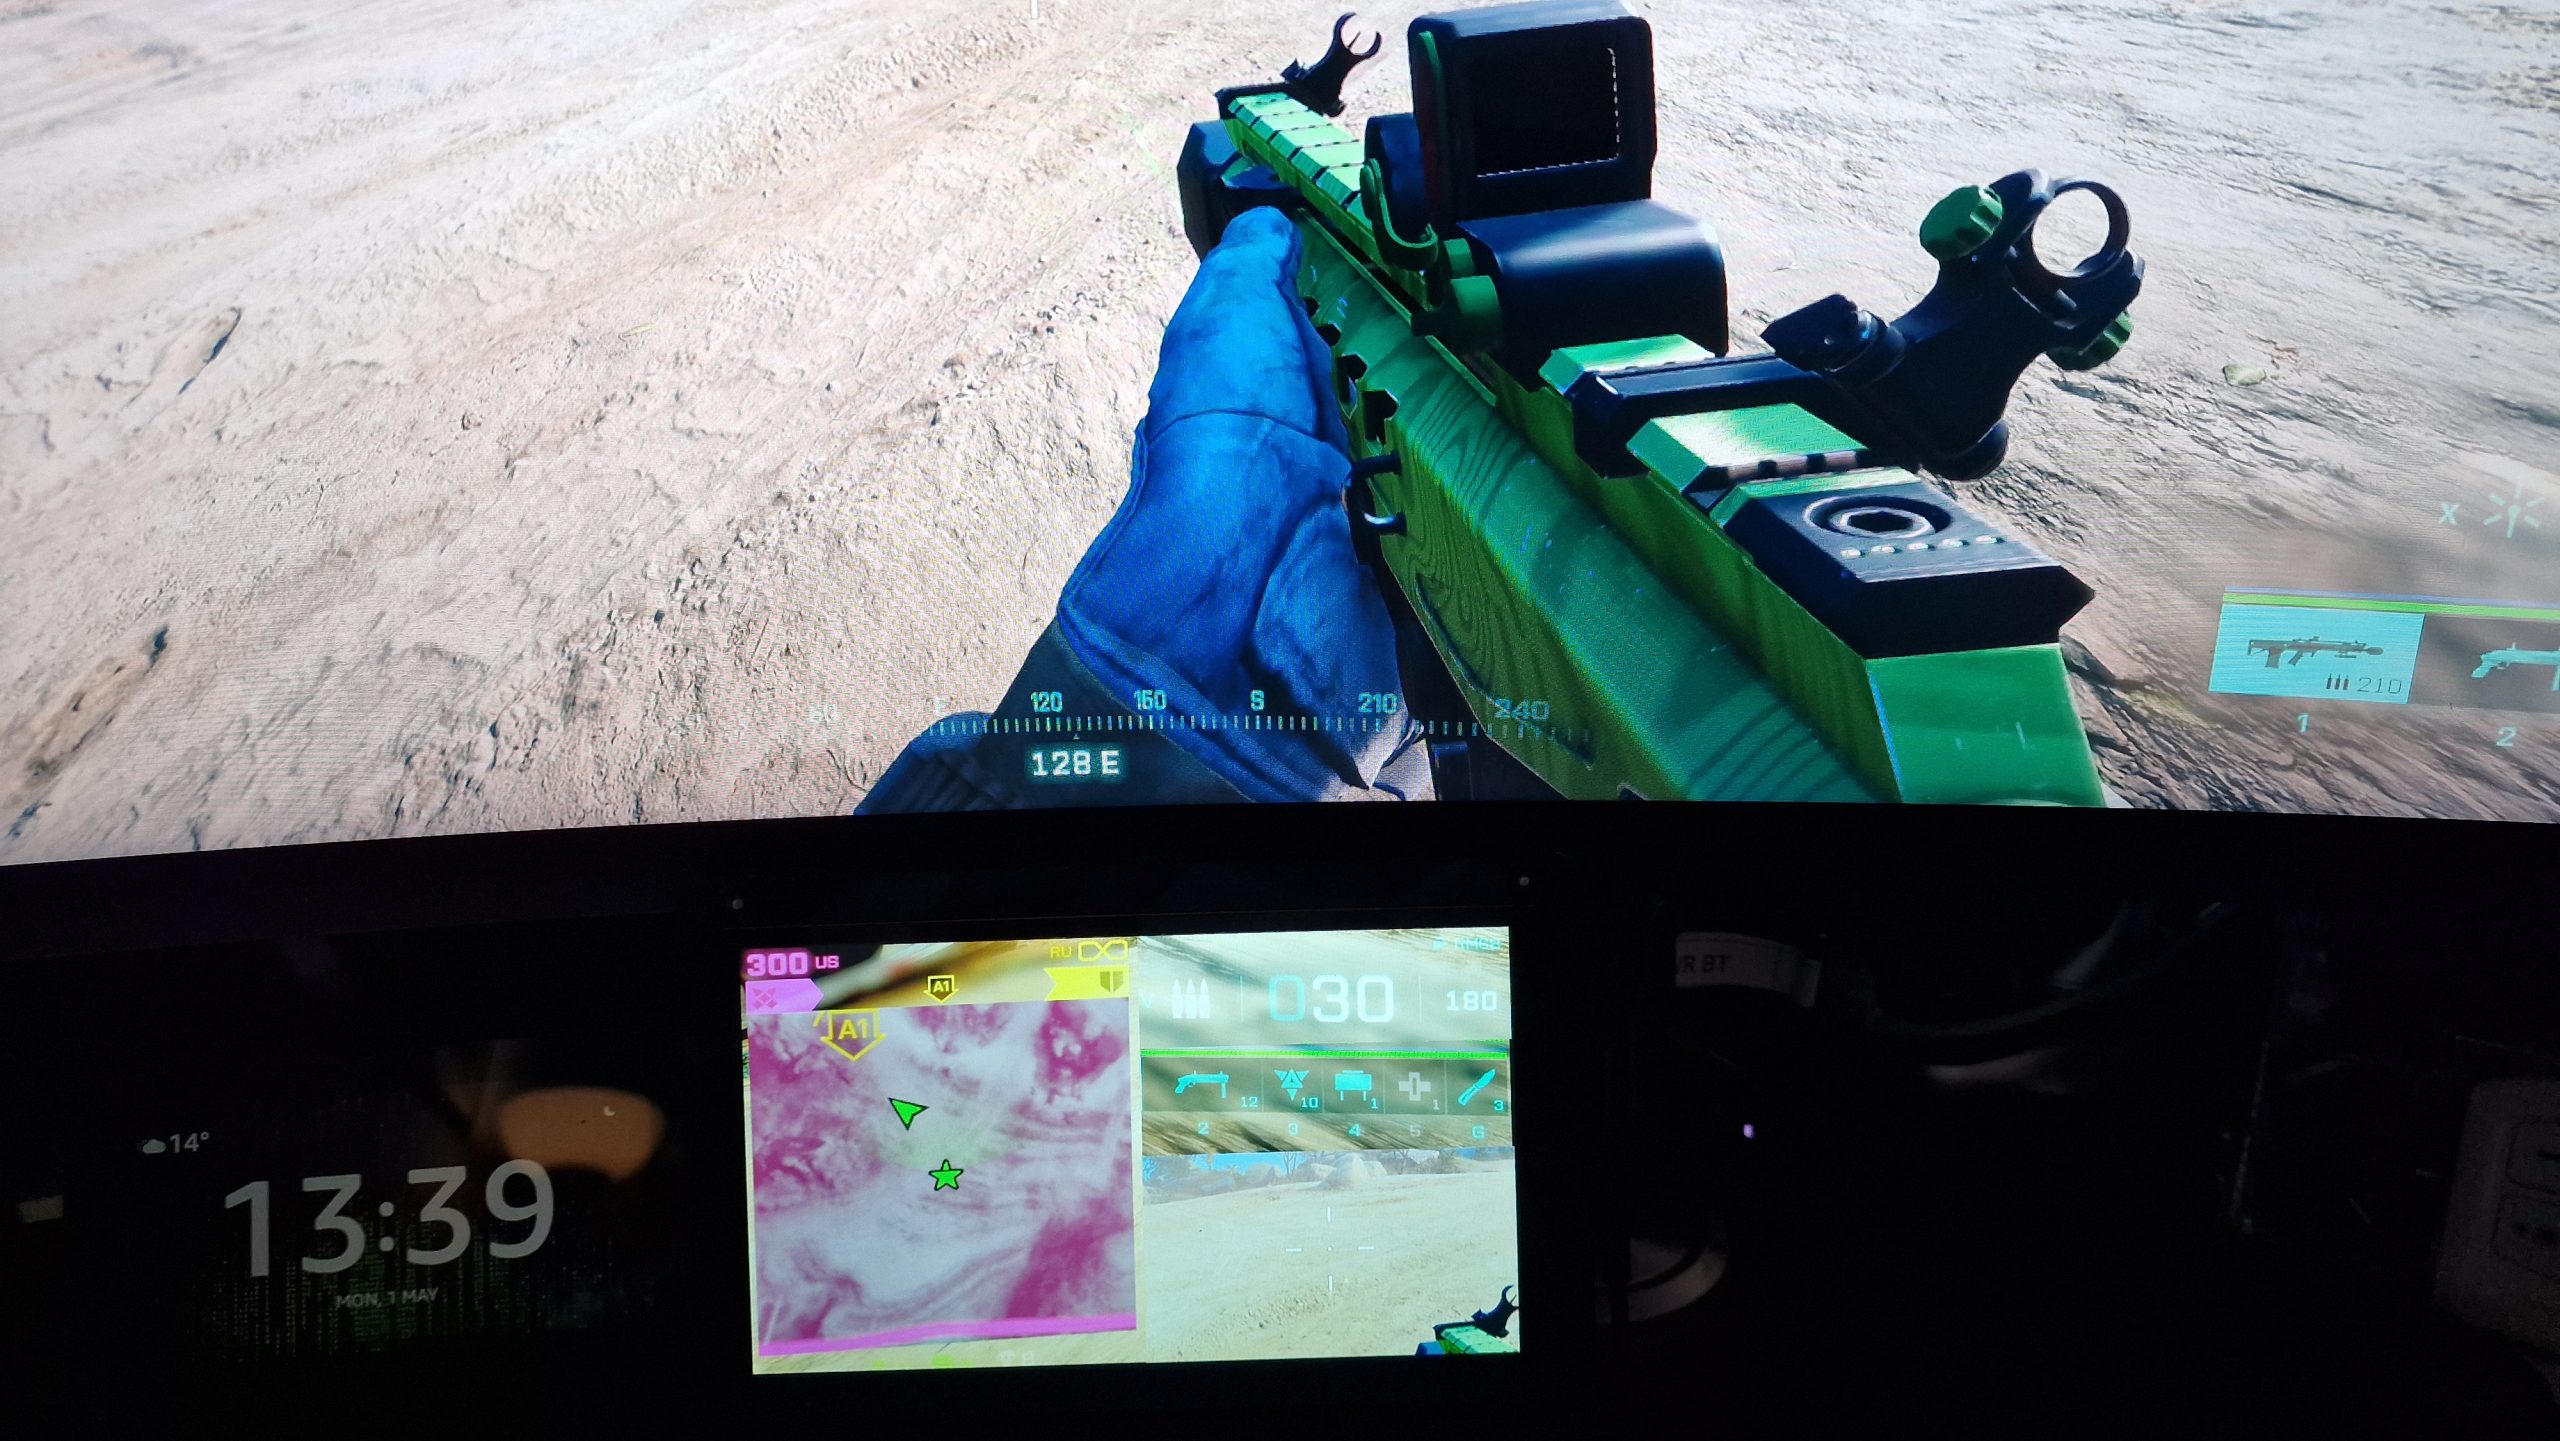
Some games when running on an Ultrawide monitor just move the Minimap and other info to the far sides of the display, Destiny 2 on the other hand does it correct and extends the screen while keeping the Minimap in the normal place. but either way having a minimap and other info below the main screen can be a help.
First you will need OBS Installed (OBS is Free and Open Source)
Start the game you want to use (you can minimize this for now)
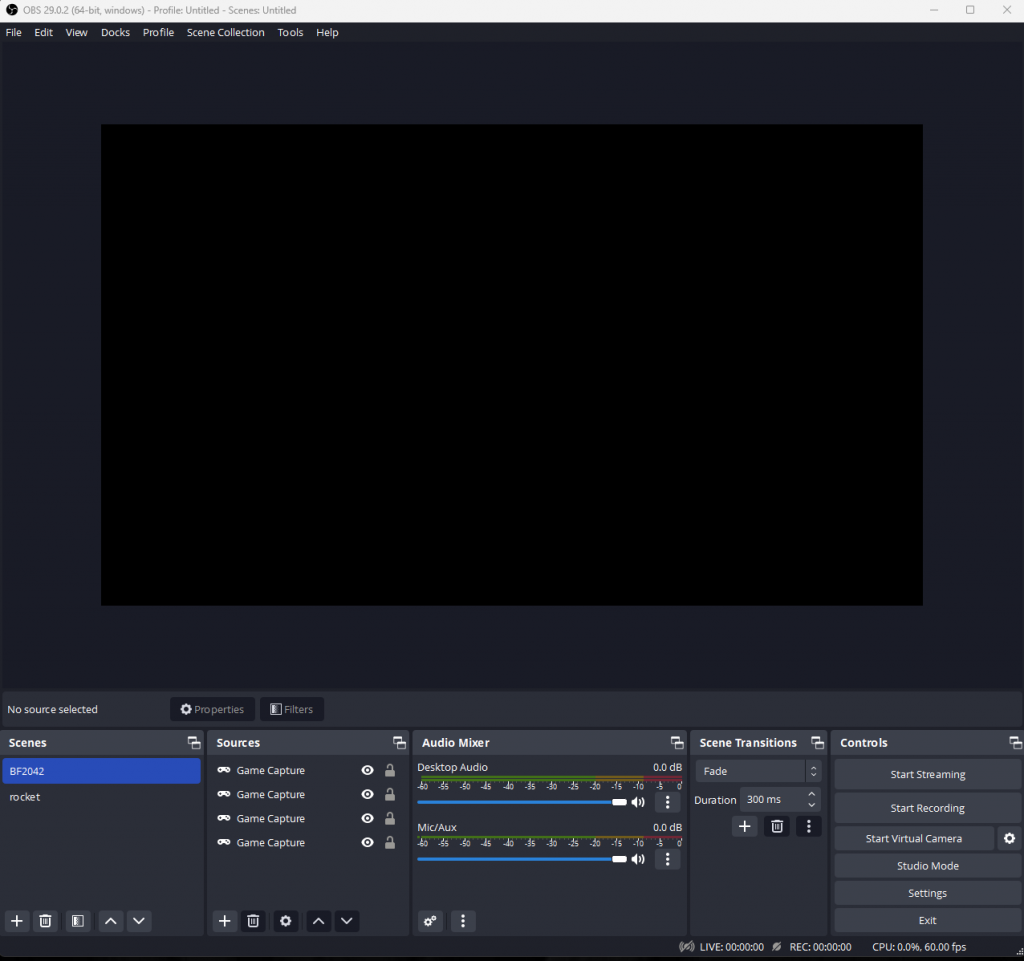
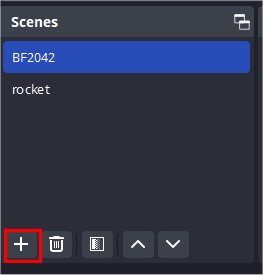
Open OBS and your scenes (apart from a default scene) and sources will be empty
First click on settings on the bottom right and then Video
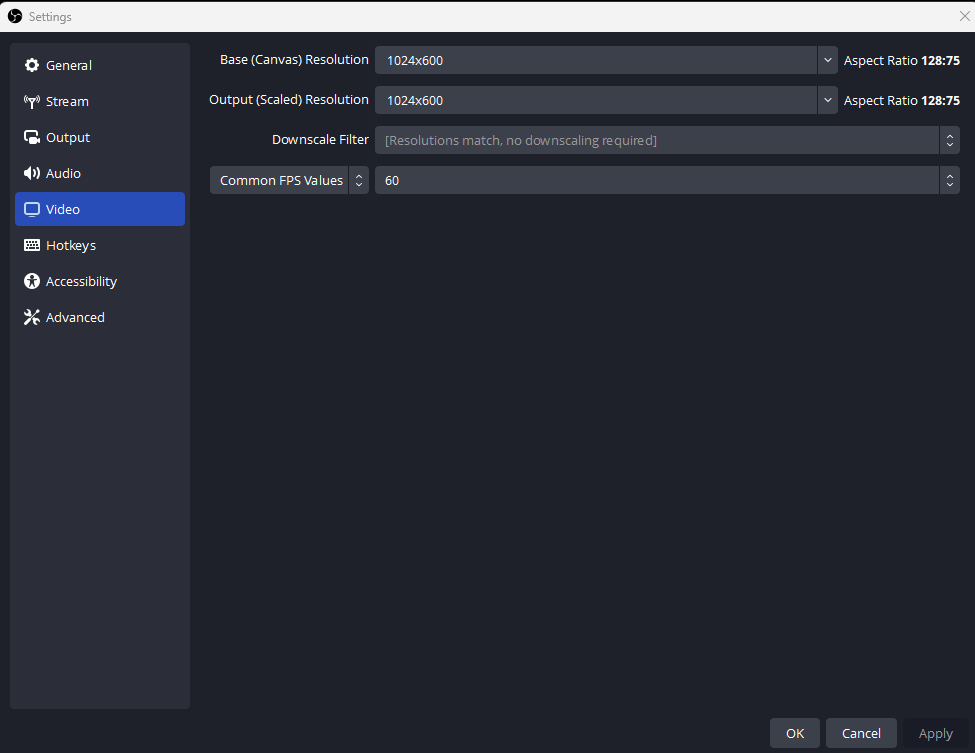
The important thing here is to set the Base resolution and the Output Resolution
to the Resolution of the monitor you will be outputing to.|
In My case its to my 7″ 1024×600 Screen under the Ultrawide Monitor
Click apply and OK then restart OBS.
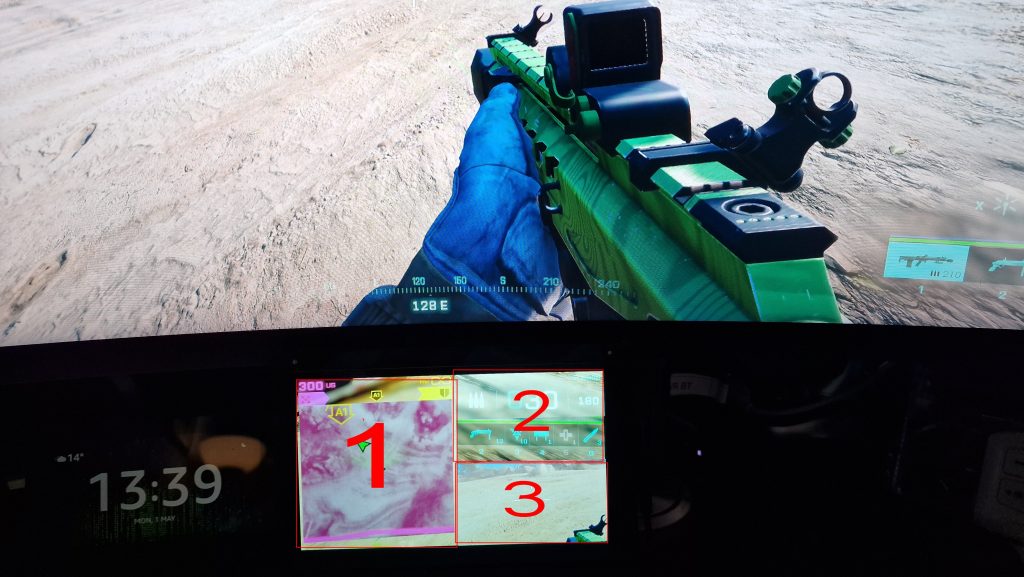
We will be creating 2 objects on the screen , not usually my layout as i usually just have the minimap but this will show how to add other parts of the screen for other games here you see 3 objects i created to fill the screen.
Under scenes click the + button too add a scene we will call this test but name it to whatever game you are going to use. (Also this will allow you to be able to create different scenes for different games)
Type the name and click ok (i used test but use the name of the game you want to capture)
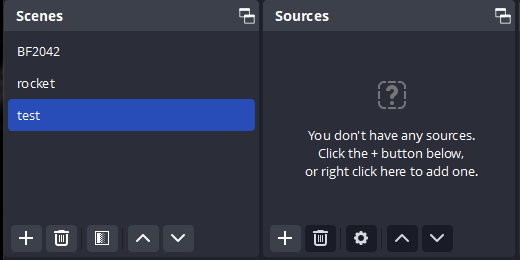
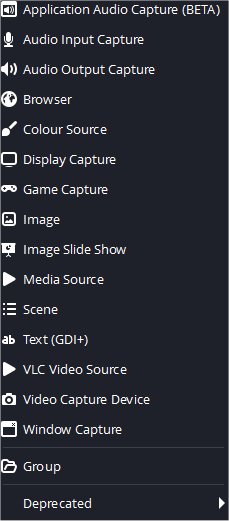
With the test scene highlighted click the + under sources to add a source and select Game Capture
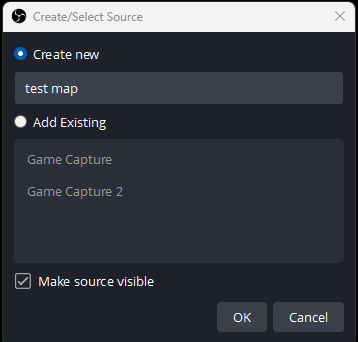
Type your game name map (i used test map) under create new and click ok
Then click on Capture any Full Screen Application and select capture specific window
And under Window select your game which you want to take the info from in this case its Battlefield 2042
Selecting the specific game will allow you to only display when that specific game is running and also then choose to display when that game is running.
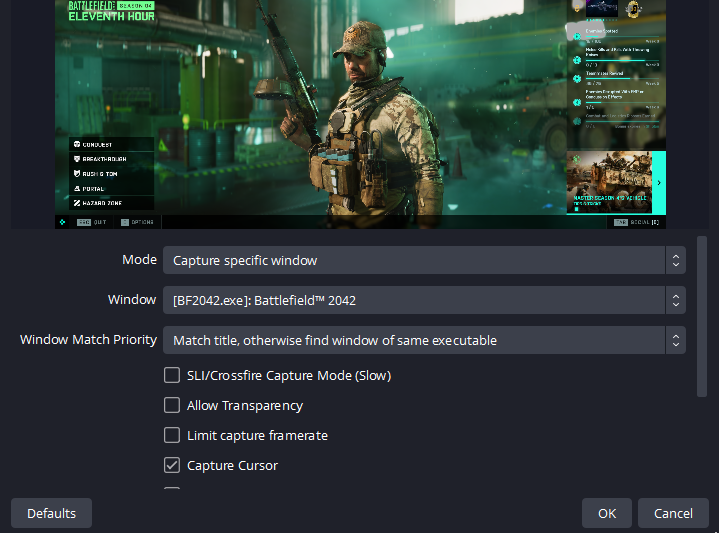
Then click OK
You will then be on the editing screen, this part can be a bit difficult to master but when done once its easy
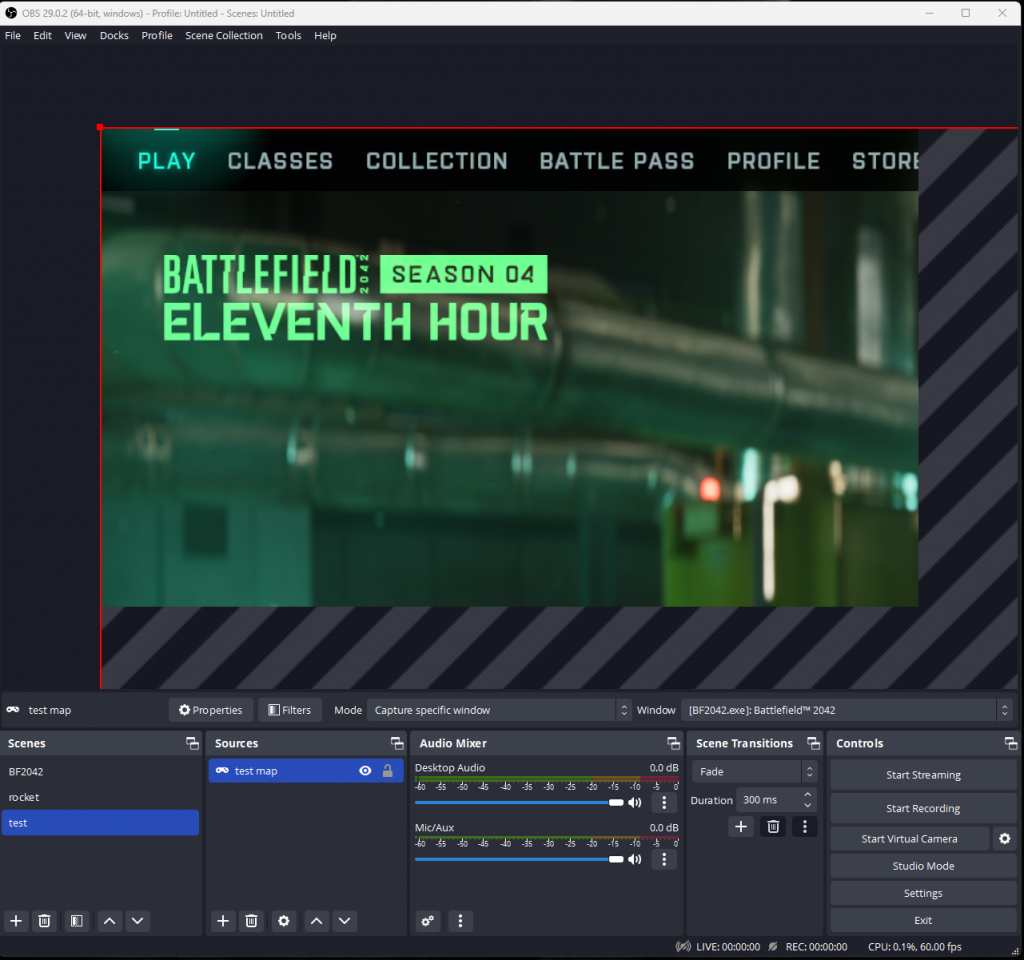
You will see a red border , now for this you will need to have a game started so you can see the mini map and any other info you will need , so in BF 2042 i just start a solo game against bots
The window you see above has a much smaller view area than the main screen which is correct as this now shows what you will see on the monitor you want to put the minimap on to
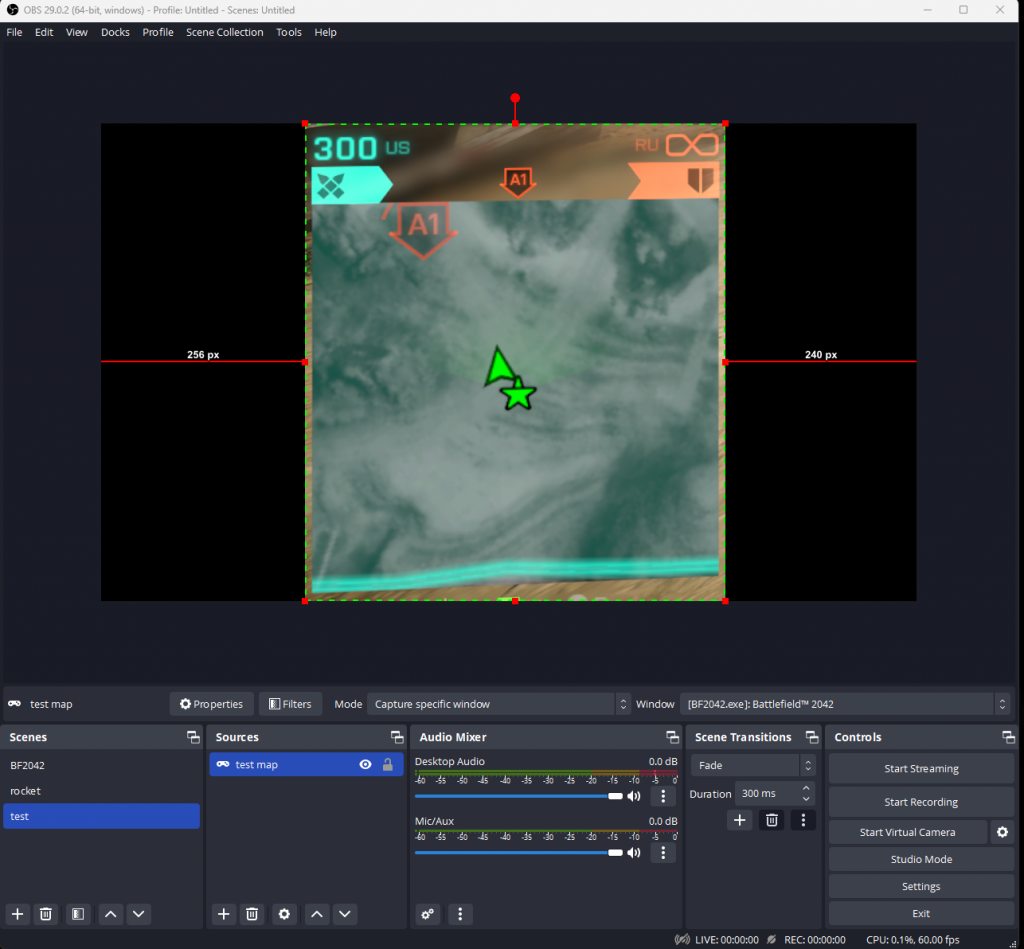
So Holding down the left ALT key while dragging the points (red squares) on the border will resize the section thats viewed.
Dragging the main window without any key pressed will move the window so that you can get the part you want
Once you just have the minimap in view it will look like this
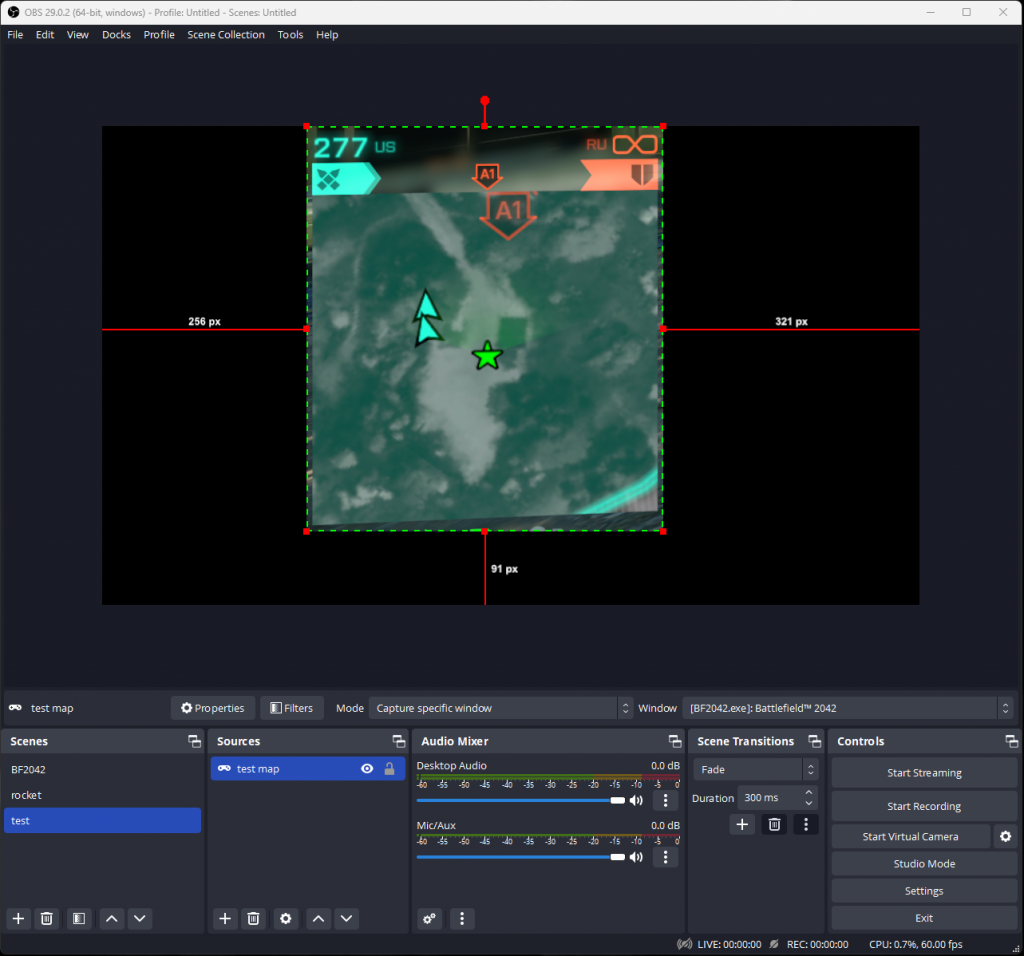
Then you can resize it by just dragging one of the red squares without any key pressed to maximize the size
Then by dragging the section just by pressing the left mouse button and holding it down you can move the section to anywhere on the screen, in my case i will move it to the left side
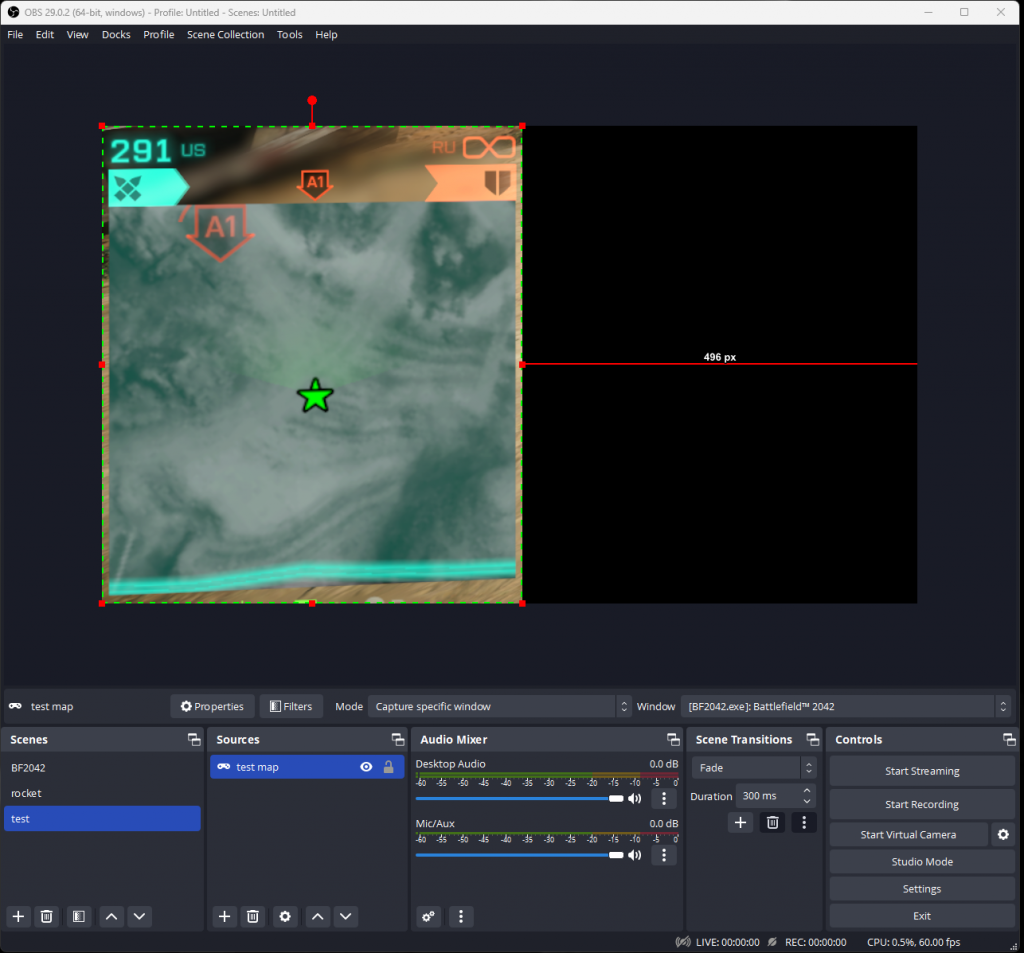
What you see on the screen is how it will look on the monitor you will be displaying on which is why we set the values to 1024×600 earlier.
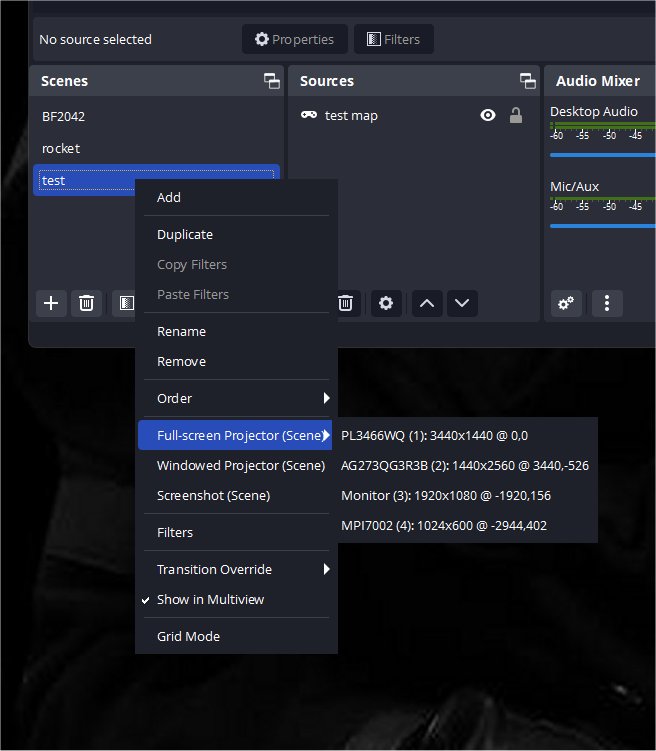
Now right click the Test Scene and select
Full-Screen Projector (Scene) and then the monitor you wish to display the minimap on
In my case its the MPI7002(4) 1024×600
The Minimap should then Appear on the screen as displayed , you cazn minimize the Main OBS Screen if needed.
If all you wanted was the minimap then you are now done but if you wanted to add other info on the screen then do the below
Adding More Sections
Press the + button under sources again and select Game Capture
But this time select add existing and choose the same one as you are using (in this case test map)
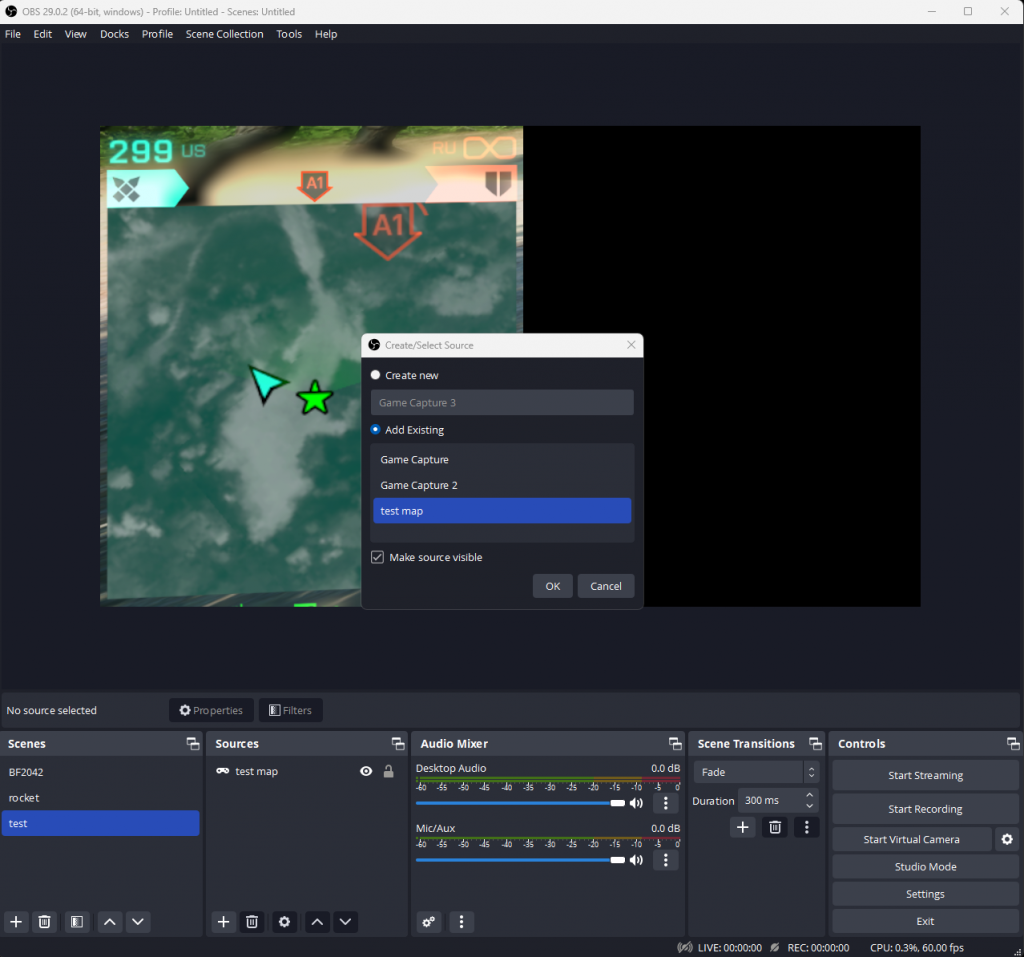
Then Click OK
you will have the same view as before and just resize it to the section you want to display
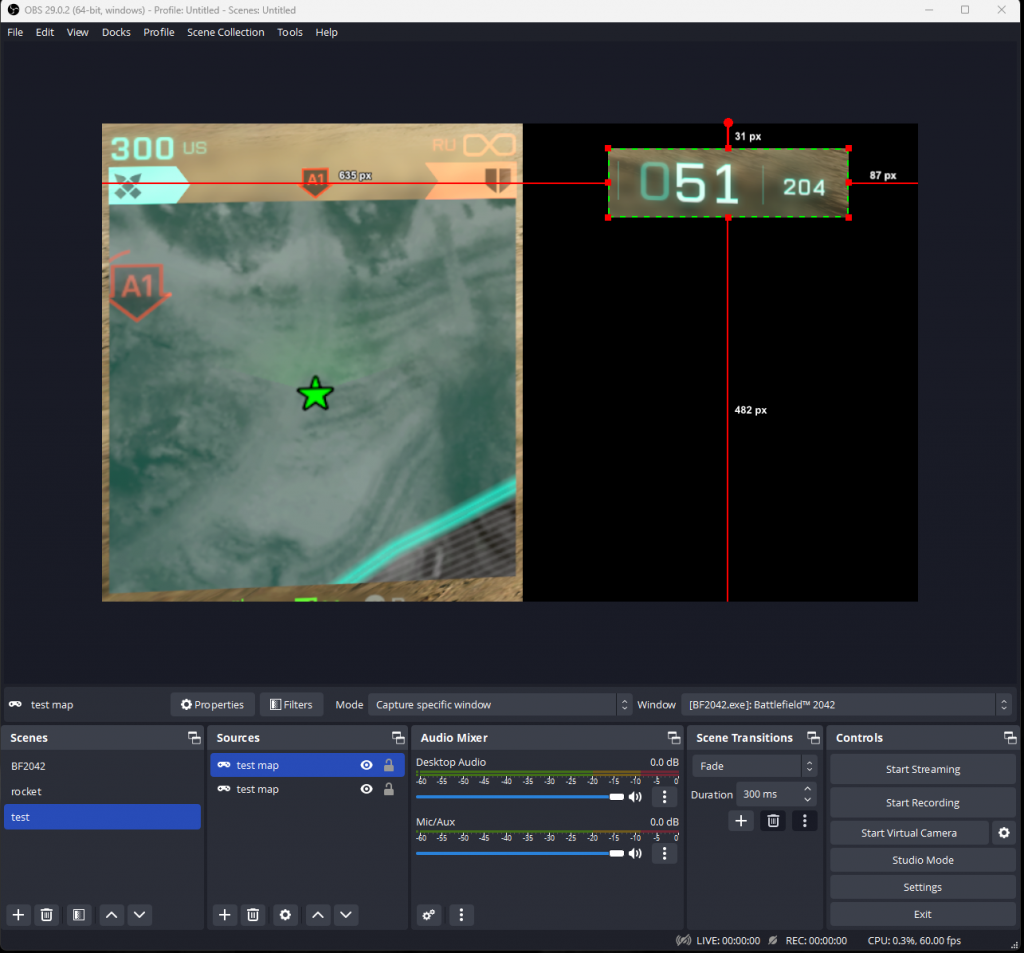
Here we will display the Ammo values
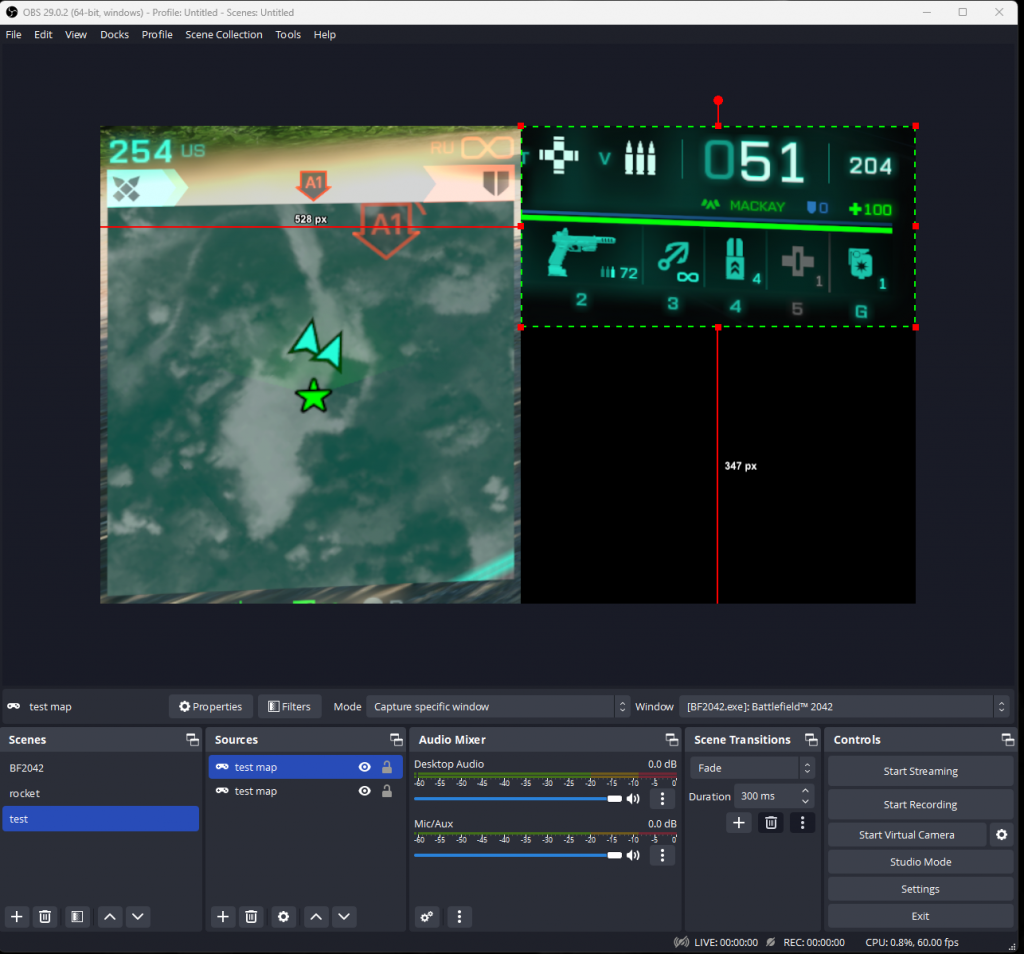
Here you can see i have resized and moved the second section to the top right of the screen
Then just repeat the above under Adding More Sections to put any other info you want on the screen
You can capture any part and resize and move it for instance
Here i just show the Minimap and the Ammo i have left and i can move both of these sections around until i am happy with the layout and of course add more.
This will be useful with many games that have info dotted around the screen and now they can all be put on 1 screen thats easy to glance to.
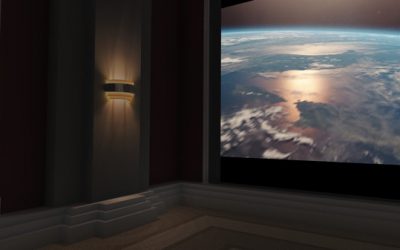
Personally i dont find putting this onto a screen at the side valuable but on a smaller screen underneath the main screen i find much better and easier to glance at while playing.
I have found a 7″ Screen just underneath the main display to be the sweet spot as any larger means the display will be harder to just glance at.
But as ever its what suits you best
The screen i used is
just search for a Raspberry pi monitor or screen and usually the 5″ , 7″ and 10″ ones will show up