


Prepare an SD Card for Raspberry PI
This will go through the Install of a OS onto an SD Card ready for your PI
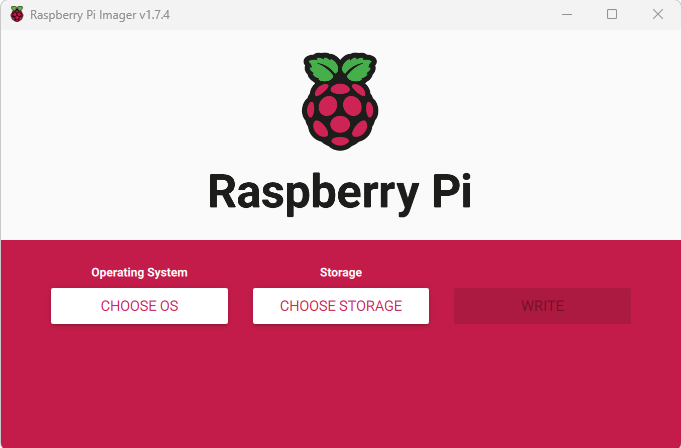
First download the Official Raspberry Pi Imager
https://www.raspberrypi.com/software/
When run you will see the following screen
Select CHOOSE OS

You will see a List of OS that you can choose from.
For most cases the Raspberry PI OS (32Bit) will be the best one and what we would be selecting for Pi Hole.
Personally i wouldnt yet go for the 64bit OS as even though its the stable release there are some software not written to take advantage of 64Bit and others that just wont work on it, this may change but for now i would stick to 32 bit.
But take a look at the options as there are quite a few for specific purposes such as Full Fledged Ubuntu
Or even a Media Centre like KODI or a full Emulation OS Retropie for all the old Console Games
Once selected it will list the Selected OS

Now Click Choose Storage and it should list the USB Storage you have Attached

Select the drive with your SD Card in and it will show on the main menu

Before Clicking Write choose the Cog Located on the Bottom right Corner
This will bring up the Settings Screen

Tick and then Type in the Hostname you want to give your PI
For example if this is for a PI Hole type pihole
(This should then make the PI accessible as pihole.local or the IP Address on the network)
Then tick to Enable SSH (this allows connection via a SSH Client from any pc on the network
Personally as i use windows i use the excellnt free Putty Client
I would do this even if you have a monitor keyboard and mouse attched to the pi as really then you can just leave the pi alone and not have extra things connected using power

Scroll down and Tick Set Username and Password

Then choose and Type whatever username you will use to log into your PI
And choose a good Password
In this i am not using Wireless lan but if you wanted to tick the Wireless Lan button and select the SSID of your Wireless and also the Wireless Password
Then click Save and then Click Write
This will then create the SD Card
When the Write is completed open the SD Card and you will see the Directory of files just created
What i have found is that You need to create a New file just called SSH. its a blank empty file so you can just create a new txt file and save it as SSH without the .txt extension , this enables SSH
you can also download it in a zip here
now its ready for you to Put into the PI and Run the OS