


How to Boot from USB on Raspberry PI
- Raspberry PI zero up to 3 B v 1.2
From the Terminal or SSH Session
echo program_usb_boot_mode=1 | sudo tee -a /boot/config.txt
sudo reboot
3. After Reboot SSH in or Run Terminal and type
vcgencmd otp_dump | grep 17:
If the PI has been set you should see 17:3020000a appear if you see 17:1020000a then it is not USB Bootable and you will need to try again.
Then if you already have a Running Sd Card in the PI use our
Copy the Sd card to USB Stick or drive guide here
2. Raspberry PI 3b+, 4 and 400
Insert a SD Card into a reader for your PC
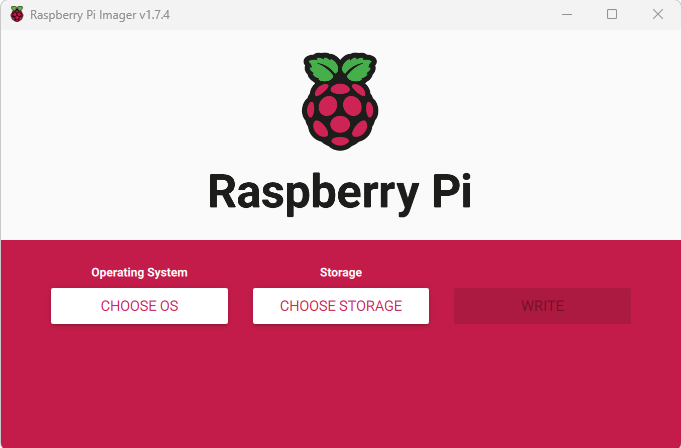
Launch the Raspberry PI Imager App, select Operating System

Select Misc Utility Images

Select Bootloader

Select USB Boot
Then choose the storage sd card as normal and then click write
Insert the micro SD card into your Raspberry Pi 4 / 400 and power on. The green activity light will blink a steady pattern once the update has been completed. If you have an HDMI monitor attached, the screen will go green once the update is complete. Allow 10 seconds or more for the update to complete, do not remove the micro SD card until the update is complete.
Then reboot the PI with the original sd card in
Then if you already have a Running Sd Card in the PI use our
Copy the Sd card to USB Stick or drive guide